Please log in to continue
As a Danica employee, you have exclusive access to branding and styling guidelines and resources.
General Styling Guidelines
-
Process
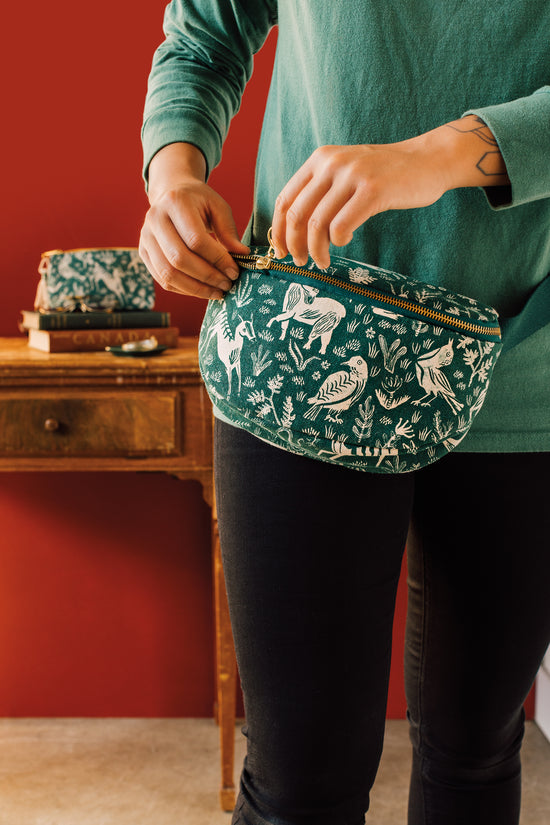
- Familiarize yourself with the Brand Guides
- Review the Style Photography board on Monday.com for size, art direction notes and other information about the shot you’ll be styling
Check the the latest draft of the catalog and include a screenshot of your pages in the planning document - Take note of other shots on the same page so you aren’t using the same props or background
- If there’s type placed on top of the photo be sure to leave enough negative space
- Share your plan with the team on Monday.com
- If you are planning to use a colleague as a model, please check with their supervisor before booking it in
- Gather, buy or borrow props. Budget per shot: $25
- Walk the photographer through the plan on the day of the shoot using your shot planning document
-

Props
- Draw inspiration for your props from the product you are styling: color, motif/theme or function
- Use props as supporting elements to tell a story
- Make sure the prop(s) don’t steal the show by being too big or too amazing
- Try to avoid props with logos
- Don’t use props that could be mistaken for our product. Use other, coordinating products from the same brand instead.
- As a general rule, don't use products from other Danica brands as props, unless it's something fairly generic that is placed out of focus, partly cropped out or in other ways played down
- Best bets include: food/drinks, plants/flowers, jewellery, shoes, furniture, found objects
- Avoid recognizable, untreated IKEA pieces. Paint or use a hack of some kind to add character.
-
Lighting
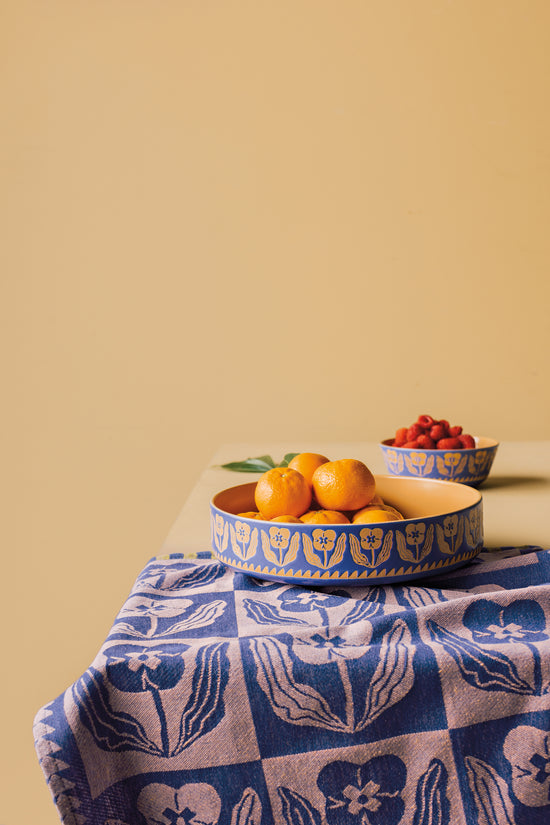
- If your shot is on the left side of the page, the light source should come from the left
- If your shot is on the right side of the page, the light source should come from the right
- Top lighting works for both
- If you have a light coloured item and a dark coloured item, the dark item should be closest to the light source
-
Composition
- The product should be in focus
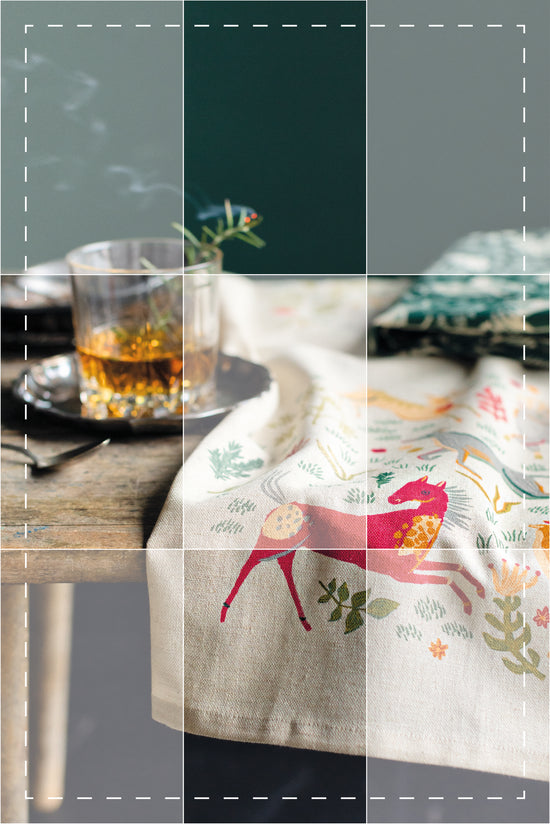
- Let the rule of thirds be your guide and place objects where the lines intersect on the grid
- Include negative space for breathing room
- Keep at least one of the thirds in the grid free of objects for future graphics
- Use an odd number of elements
- Place your elements unevenly apart for more interest
- Leave a margin around the edge of your image for cropping
- Keep this free of objects, or have them continue into the margin so they can be cropped into
- Avoid kissing—placing objects so they barely touch one another, the edge or the horizon line
- Make sure there is an intentional gap between objects or overlap them completely
- The horizon line should be approximately a third from the top or bottom of the photo.
- Avoid framing the horizon in the center.
- Similarly, avoid vertical lines in the middle.
Style Shot Assessment Checklist
Critical questions to refine your photographic concept and ensure maximum visual impact.
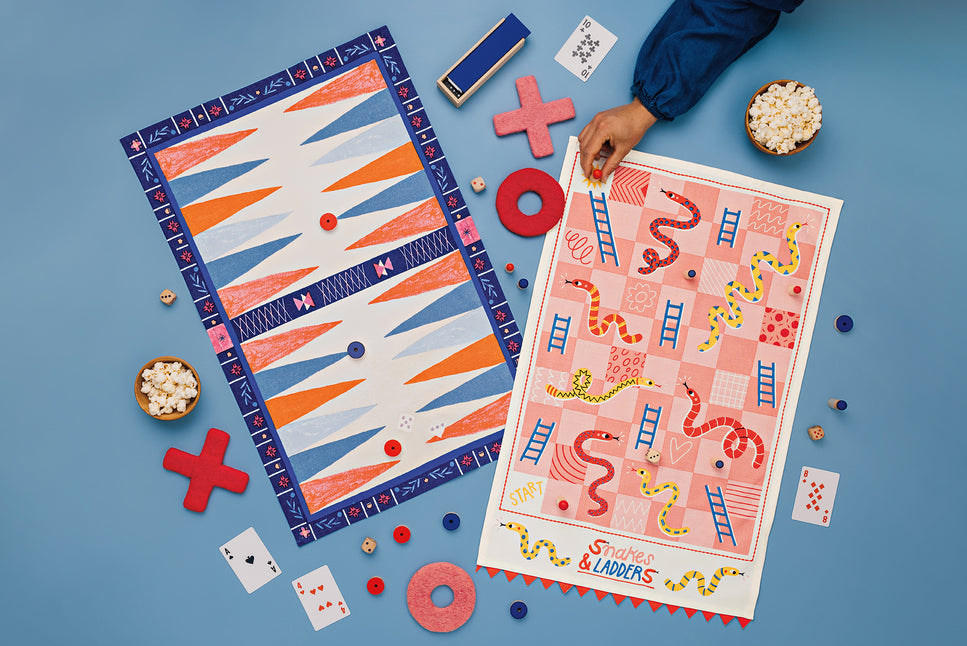
- Does the image have impact? In what way?
- What story does it tell?
- Is it well suited for the brand?
- How does the composition work?
- Is there a strong subject?
- Are there unnecessary distracting elements in the photo?
- Is the background too strong or plain? Would a shallower depth of field help the image?
- Does the image showcase the product well? Does it highlight its selling features?
- Does it show the texture and surface design details well?
- Does the image make the scale of the object clear?
- Does it add value next to the close crop photo?
- How does it work as part of the catalogue flow? Is it repetitive with the other style shots?
-
Additional Photography
Fill the Gaps
Evaluating existing shots and creating images that fill in information gaps for the viewer is key. The outcome should be converting customers to purchase through a seamless and user friendly buying experience.
-
Additional Photography
Functionality
The first styling goal in most cases will be to show the product's funcionality. Simple 'hot item on trivet' shots are key here. Showing items in use with models will often be a nice solution.
-
Additional Photography
Scale
For many items, contextualizing its scale is an important objective. Everyday kitchen items and models play an important role here. Often you can cover scale and functionality in the same shot.
-
Additional Photography
Unique Selling Point
For products with more unique characteristics, it will be important to clarify their intended use. For instance, show items nested, gift packaged or feature an alternate use.
-
Additional Photography
Number of Images
One additional image per product is currently the minimum goal, but fitting in secondary images when possible should be a focus. Closeups to show texture and details will be a good way to bump up the shot numbers here.
-
Additional Photography
Collection Props & Packaging
Featuring other items from the same collection as the main product is encouraged if it makes sense in the setup. Gift box packaging can be used as a prop or riser of sorts as well, but packaging focused photography will be done separately.
-
Additional Photography
Image Requirements
- Aspect ratio 1:1 (square)
- Recommended resolution: 3000x3000 px
- PPI 300dpi
- Color mode: RGB
- File format: JPEG, JPG, PNG
- Max file size: 2mb
-
Additional Photography
Image Guidelines
Show the product with other objects to give context or show how people would use the product in real life.
The product should be the main focus, ensure the props/models do not draw the attention away from the actual product.
Now Designs by Danica
Now Designs is our tribute to the tastes and textures that inspire us to explore, create and
gather to share culinary experiences. From harvesting our own herbs, farmer’s market fresh finds to an al fresco feast, our collection offers high-quality kitchen and dining essentials that celebrate and support the joy of living well. With reimagined classic patterns and an abundance of colors and tones to appeal to every taste, Now Designs offers the perfect ingredients for you to express, enjoy and share your love for all things culinary.


Danica Jubilee
For the young soul, the free spirit, the animal lover, or the one who simply appreciates a good laugh, Danica Jubilee is the perfect companion. This joyful collection is a celebration of the simple things that bring color, vibrancy, and inspiration to our lives. From designs and motifs that celebrate watching your garden grow, touring your town by bike, to encouraging messages, Jubilee reminds us that we all have the power to cultivate kindness in our community and to make our world a better place. An eclectic collection that connects us all with heartfelt gift ideas and items for our homes - let Danica Jubilee be the reason you smile today!


Danica Heirloom
A deep passion for craftsmanship, handmade goods, ethical production, and uncompromising quality compelled us to create Danica Heirloom. We take inspiration from the quality of cherished items that last generations, and from our intertwined global community of artists who make, create, and share the products that bring us together. Created with earth tones, jewel palettes, and a love of travel, Heirloom encompasses a spirit of global citizenship and well-traveled design. Travel the globe and redefine home decor with Danica Heirloom.


Danica Studio
Danica Studio was founded in 2009 in Vancouver: a city where ocean, forest, and islands converge against a mountainous backdrop. This unique setting—along with a healthy dose of wanderlust and imagination —sparks daily inspiration for our design team. Together, they collaborate on patterns and images that reflect a shared love of textiles, travel, and the beautiful city they call home. Their passion and creativity create the foundation from which our products come to life. We invite you to explore the bold, inviting, and ever-evolving world of Danica Studio.


Ecologie by Danica
Ecologie is the natural result of our deep passion for environmental sustainability and creative design, bringing a little thoughtful beauty to your world. Authentically made in Sweden, our sponge cloths are equal parts stylish and effective. Turn one-time use paper towels and plastic into a thing of the past with Ecologie. Our beeswax wraps and bags offer an array of colors and patterns for reusable storage. Explore our collection and discover why sustainable living has never been so vibrant—or so fun!


